In today’s digital age, online learning has become a billion-dollar industry. People all around the world are paying for courses that help them learn new skills — from digital marketing to cooking, design, or freelancing.
If you have knowledge, skills, or experience in any field, you can easily create an online course and earn from home. You don’t need a big studio or expensive equipment — just a clear plan, useful content, and the right platform.
This guide will show you step-by-step how to create and sell your own online course — even if you’re a complete beginner.
Step 1: Choose a Profitable Topic
Start by selecting a topic that people actually want to learn. The best course ideas come from areas where your skills meet audience demand.
Ask yourself:
- What skill do I know better than most people?
- What problems can I solve for others?
- Are people searching for this topic online?
Popular profitable course topics include:
- 💻 Digital Marketing
- 🎨 Graphic Design
- 🗣️ Communication & Public Speaking
- 📱 Freelancing & Online Earning
- 🍳 Cooking or Baking
- 🧘 Fitness & Self-care
👉 Use tools like Google Trends, Udemy, or Skillshare to research demand before finalizing your topic.
Step 2: Define Your Target Audience
Every successful course starts with a clear audience in mind.
For example:
- A digital marketing course for small business owners.
- A baking course for beginners.
- A freelancing guide for students.
When you know who you’re teaching, you can create lessons that directly solve their problems — and that’s what makes a course valuable.
Step 3: Plan Your Course Content
Now outline what you want to teach and how you’ll organize it. Divide your content into modules and lessons.
Example:
Course Title: How to Start Freelancing from Scratch
Modules:
- Introduction to Freelancing
- Setting Up Your Profile
- Finding First Clients
- Building Long-Term Success
💡 Keep each lesson short (5–10 minutes) and focused on one topic. Use examples, visuals, and real-life stories to make your lessons interesting.
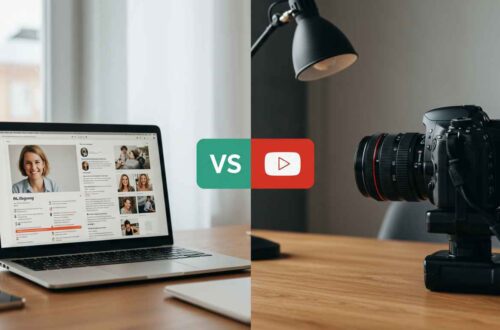
Step 4: Record Your Lessons
You don’t need fancy equipment — your smartphone or laptop webcam can do the job.
Tips for high-quality videos:
- Record in a quiet and bright room.
- Use a simple ring light or window light.
- Keep the background clean.
- Speak clearly and confidently.
If your course doesn’t require your face, you can record your screen tutorials using free tools like:
- OBS Studio
- Loom
- ScreenPal
Remember, clarity is more important than perfection. Students care about your knowledge, not your camera.
Step 5: Edit and Organize Your Course
After recording, edit your videos to make them professional and engaging.
Free editing tools:
- CapCut (easy and beginner-friendly)
- DaVinci Resolve
- Filmora
Add intro screens, text highlights, and smooth transitions. Once editing is done, upload your lessons in order with titles and descriptions.
Step 6: Choose the Right Platform to Sell
You can host your online course on popular platforms or on your own website.
Best platforms for beginners:
- Udemy – Free to start, they handle payments and marketing.
- Skillshare – You get paid based on watch time.
- Teachable or Thinkific – Build your own branded course website.
- YouTube (Private Course Playlist) – Share videos privately and sell access through Google Forms or Gumroad.
Each platform has its pros and cons, but Udemy is the easiest to start with — no website required.
Step 7: Market Your Course
Creating a course is just half the journey — marketing makes the sales happen.
Smart ways to promote your course:
- Create a YouTube channel or blog to share free tips.
- Use social media (Instagram, TikTok, LinkedIn) for short clips.
- Offer a free mini-course or webinar as a sample.
- Build an email list and send updates to your followers.
- Ask for testimonials or reviews from early students.
When people see your expertise for free, they’ll be more willing to pay for your complete course.
Step 8: Set Your Price and Earn
Price depends on the value of your course, not its length.
Example pricing:
- Beginner courses: $10 – $30
- Intermediate courses: $30 – $100
- Expert-level courses: $100 – $500
You can also run discount offers or bundle multiple courses together.
With just 100 students buying a $20 course, you can earn $2,000 — and since it’s digital, you can sell it again and again without extra cost.
Step 9: Improve and Expand
After launching, keep improving your course based on feedback. Add:
- Updated lessons
- Bonus modules
- Certificates of completion
Once you succeed with one course, create more around similar topics — like a course series or an advanced version.
That’s how you build a long-term income stream from home.
Conclusion
Creating an online course is one of the best home-based businesses in 2025. You share your knowledge, help people learn, and earn money doing it.
You don’t need to be an expert — you just need to teach something useful in a simple, honest way. With time, your one course can grow into a full digital education brand.
Start today, stay consistent, and remember:
People are ready to pay for what you already know — you just have to teach it the right way.